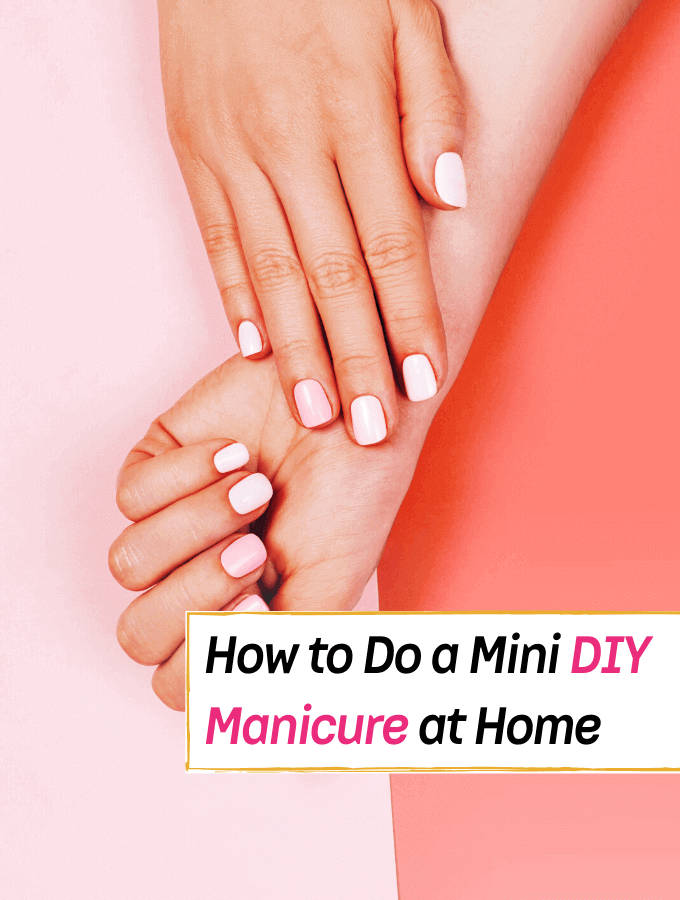
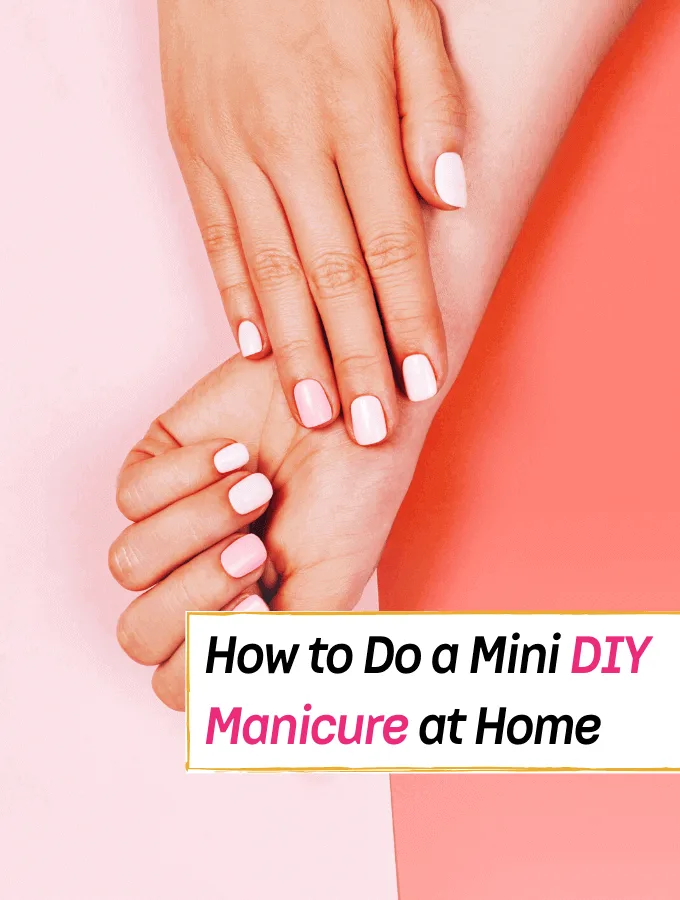
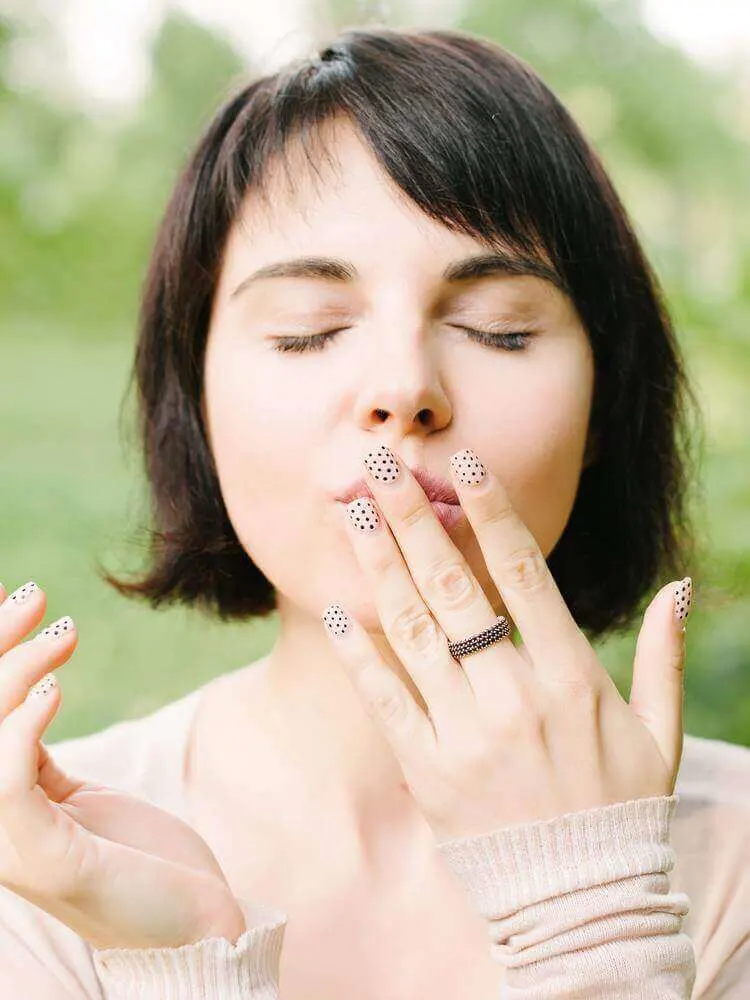
If you want to learn how to do gel nails at home, take a look at this guide that will help you do the best manicure with gel polish!
For many, a visit to the nail salon is a cherished escape, offering everything from manicures to relaxing massages.
But salon trips can add up, especially if you’re mindful of your budget.
The great news? You don’t need a pro for perfect gel nails. You can even recreate a mini spa experience right in your own home.
So, ready to embark on a DIY nail adventure?
Here’s how you can achieve salon-quality gel nails at home in seven easy steps.
RELATED:
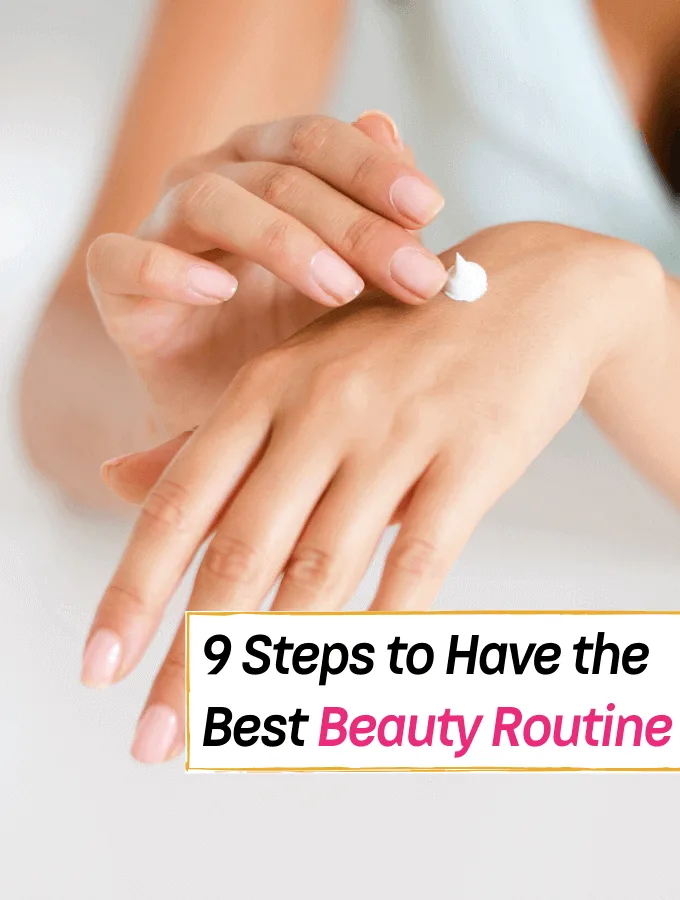
9 Steps You Really Shouldn’t Avoid in Your Beauty Routine
8 Quick Ways To Have Beautiful Glowing Skin
7 Daily Habits to Help Boost Your Mood
How to achieve salon-quality gel nails at home in seven easy steps!

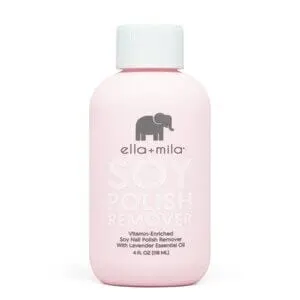
Home Manicure Step 1: Remove Old Nail Polish.
If you want your manicure to look professional, it’s important that you start with a clean slate. This means that you need to remove all of your existing polish. There are lots of affordable nail polish removers on the market.
Many of them can actually strengthen your nails. Once you find the right brand for you, dab some on a cotton ball and rub away the paint.
Recommended:
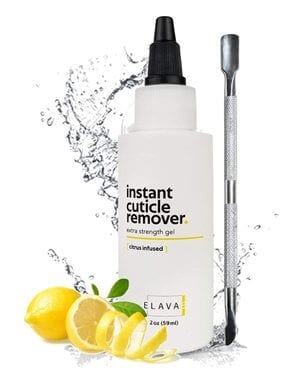
Home Manicure Step 2: Trim Your Cuticles.
There’s hardly anything more unsightly than dry or peeling cuticles. And this can really ruin the look of your manicure. That’s why it’s so important that you trim them. First, you need to soften them so that they’re easy to cut.
There are several options. You could soak them in a cuticle remover, lemon water, coconut oil, or extra virgin olive oil.
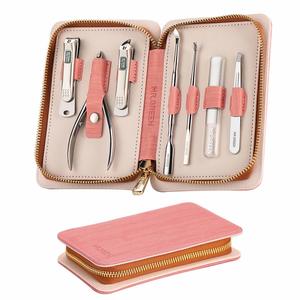
Once your cuticles have softened, push them back and trim them with a cuticle tweezer. Ideally, you should choose a tweezer that features a shorter, angled jaw. This way, you can trim the cuticles without cutting or pulling them.
Also, it’s best to clip your cuticles in smaller sections. So start on one side and work your way around.
Recommended:

SEE ALSO: 24 Stunning Short Square Nail Designs You Have to See
Home Manicure Step 3: Trim & File Nails.
If your nails are longer than you’d like or they appear uneven, trim and file them. A standard nail clipper and nail filer will work. The key is to make sure your nails look as natural as possible.
This means that you need to pay close attention to the shape that you’re creating. A lot of people find that their nails break when they’re in the shape of a square. Though it’s a matter of personal preference, it may be best to round them out.
Recommended:
Similar: 8 Quick Ways To Have Beautiful Glowing Skin
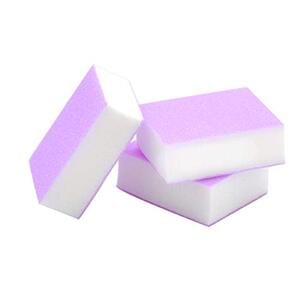
Home Manicure Step 4: Buff Your Nails.
Buffing is A step many people overlook when doing a home manicure.
However, there are many benefits. Buffing can remove dead and dry surface cells, stimulate circulation, and encourage fast nail growth. It can also remove discoloration. Use a mini buffing block.
Recommended:

Home Manicure Step 5: Wipe the moisture from your hands.
By now, you should notice that your nails have collected a significant amount of dust and debris.
There may also be a little nail polish remover residue left behind. The best way to get rid of them is to wash your hands with soap and water. Use a hand towel to wipe the moisture from each nail.
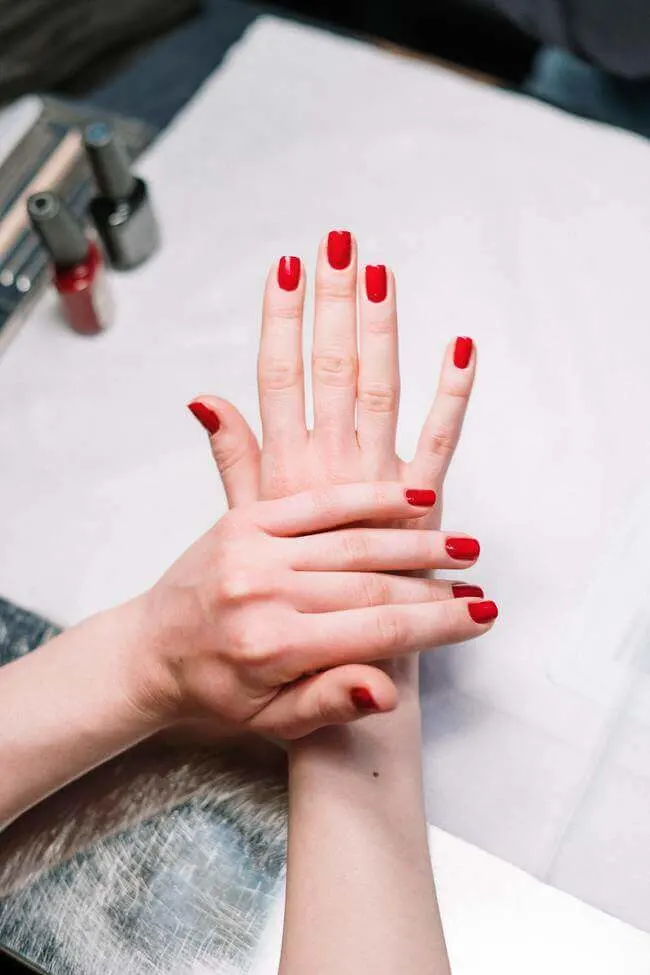
Home Manicure Step 6: Paint Your Nails with Gel Nail Polish.
The most important step in the DIY nails process is painting. Make sure that your area is well-prepped. This is particularly the case if you don’t own a manicure tray.
Put down a towel or placemat so that you don’t drop any polish on your surfaces. The type of polish that you choose will have a big impact on the outcome of your manicure.
Whether you’re a beginner or a veteran, you should consider using a one-step gel polish because it’s easy to use. This type of polish doesn’t require a base or topcoat.
Recommended:
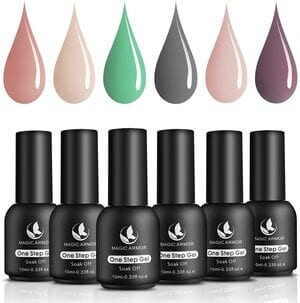

Typically, after two coats, your nails will look great, and they’ll remain strong.
However, if you want extra shine and an added layer of protection for your DIY nails, you should add a topcoat.
Another factor that you should consider is the size of the brush. Ideally, the brush should be half the size of the nail. If it’s too big or small, then the paint won’t dry evenly.
The key to a smooth finish is to apply the polish in three, even strokes. Start with one down the middle and then one down the opposite sides.
Before you apply the second coat, wait for it to dry a little. Most importantly, don’t cake the polish on.
The thicker your polish, the more easily it will peel and chip!
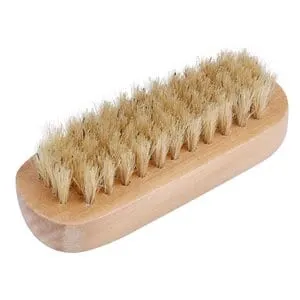
Home Manicure Step 7: Remove Excess Polish.
Perhaps the most challenging part of doing your own mini manicure at home is removing the excess polish.
Luckily, nail polish remover and a small tool can make this process easier.
You can dip a small angled brush or Q-Tip into the remover and carefully work your way around the nail.
If you have extra time, you could wait for the excess paint to completely dry and remove it by washing your hands. This may require the use of a nail brush.
Recommended:

PRO TIP: If you don’t feel like scrubbing too much, you could soak your hands in olive oil so the paint loosens up and slides off. Whatever method you choose, make sure that you pay close attention to detail to not ruin your freshly home manicured nails!

There you have it!
Designing your own nails at home does take a considerable amount of patience. However, once you perfect your technique and understand what works for you, it can save you a lot of time and money!
We hope you enjoyed this beauty guide!
See Also:

Check out 9 Steps You Really Shouldn’t Avoid in Your Beauty Routine next!
You may also like:
How to Set Intentions for the Day – 10 Easy Steps
7 Powerful Self-Care Ideas to Treat Burnout
7 Daily Habits to Help Boost Your Mood
11 Habits of Highly Successful People
10 Brilliant Ways to Master Self-Discipline
Author: Everything Abode
Welcome to Everything Abode, your daily inspiration for every activity at home!
Our goal is to inspire you to live an elegant and chic lifestyle from the comfort of your home.
We’ll help you express yourself through authentic style, aesthetic beauty, and stylish home decor.
Subscribe to Get the Tools That Make My Blog Successful!

When you join my newsletter, I'm going to send you insider advice and tools that I use to grow my blog! I only save the BEST for my email list so don't wait!
14 Self-Care Sunday Ideas To Take Better Care Of Yourself - Everything Abode
Tuesday 31st of August 2021
[…] your day with whatever pampering method you choose. You can try applying a clay mask, or attempt a home manicure. Whatever you choose to do there are so many ways you can pamper yourself at home on a […]
15 Genius Beauty Hacks That'll Simplify Your Life - Everything Abode
Tuesday 31st of August 2021
[…] This will ensure that your nails don’t break and allow them to grow out naturally and stronger. You only need to apply one coat and if you would like to step it up a notch, this mini home manicure tutorial will help. […]
9 Easy Ways To Create A 'At Home Spa Day' - Everything Abode
Tuesday 31st of August 2021
[…] out, How to Do a DIY Mini Manicure at Home (Step by Step Guide), […]
34 Daily Self-Care Ideas to Take Better Care of Yourself - Everything Abode
Monday 30th of August 2021
[…] you are at it, don’t forget to follow this home manicure guide for a little extra self-care beauty […]
60 Fun Indoor Hobbies You Should Try at Home - Everything Abode
Friday 27th of August 2021
[…] You should also rub lotion into your cuticles at least twice daily – this will help soften rough skin and give more flexibility when applying color later on. For more help, check out this home manicure step-by-step guide here. […]